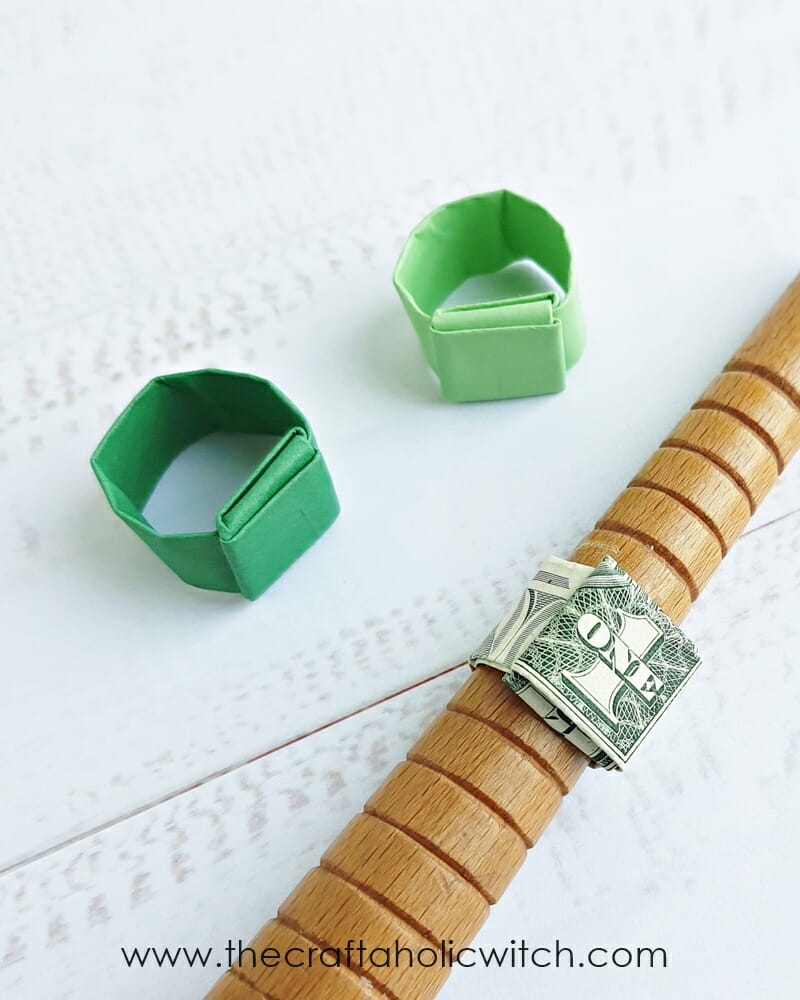
Origami dollar bill rings are the cutest quick craft and people of all ages like to get them as gifts. Today, we will show you guys how to make a ring out of a dollar bill in just a few minutes.

[lwptoc width=”full”]
Hello Craftaholics, we’re here with another origami project. If you read our blog posts regularly, you probably already know that we are working on a series of origami crafts. For today’s session, we decided to craft an origami ring out of a Dollar bill.
Before we get started, please know that this isn’t an advanced origami project, so even if you’re a beginner at origami, you can easily make this origami dollar bill ring.
This origami money ring is basically a therapeutic craft or a project to learn and practice origami skills. But of course, you can add a few dollar bill rings to a gift box or gift it to a loved one on a special occasion, because what’s sweeter than a handcrafted ring!
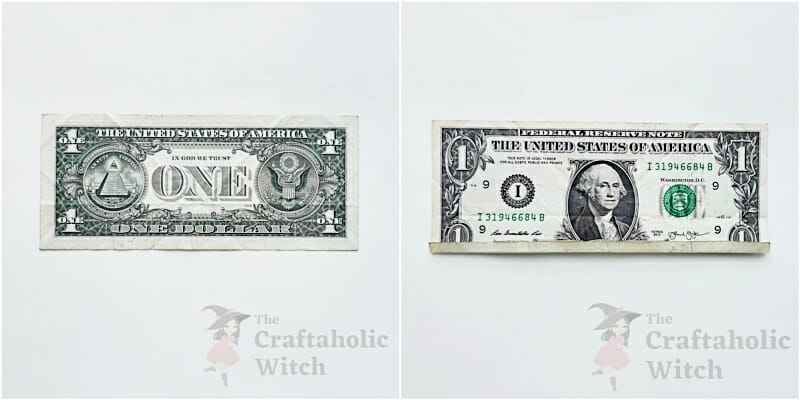
Now, just in case you’re not from the US or you don’t have a dollar bill, you can use craft paper or money of the same ratio to make the origami ring. The dollar bill ratio is 2.6 inches x 6.1 inches.
Well, we’ve used $1 bills, but you can use $20, $100, or whatever bill you want since all dollar bills are the same size. But the ring head of $20 and $100 would be too big for a ring. So, I recommend using $1 bills for origami money rings.
BTW, If you don’t have a dollar bill, you can check out our YouTube channel’s tutorial to learn the trick of learning how to fold a dollar into a ring without using a dollar bill.
How to Make a Ring Out of a Dollar Bill
Supplies You’ll Need
Materials
- A dollar bill
Tools
- Mandrel (Optional)
Step 2: 1st Vertical Fold
Now, fold the dollar bill in half.
Insert the open side of the half-folded bill under the previously folded thin border.

Step 3: 2nd Vertical Fold
Fold the dollar bill in half again (vertically). Flip the current dollar bill (if required) and bring the “one dollar” written side to the front.

Step 4: Side Fold
Take the current dollar bill and fold the white border part of the narrow side (right side).
The “1” of this part will be the head of the origami dollar bill ring.

Step 5: Folding the “1” Part
Make another fold on the left side of the “1”.
Place the dollar bill on a flat surface, with the “1” facing up.

Step 6: 90 Degrees Fold
Now, flip the current dollar bill pattern and bring the “one dollar” part up. Make a 90 degree fold between the N and E of the “ONE”.

Step 7: Forming the Ring Band
Now, neatly fold the 90 degrees folded part inside.
The longer side of the current dollar bill pattern will be used to make the ring band and the short side will be used to make the ring head. Wrap the longer side around a finger.

Step 8: Completing the Ring Band
Wrap the longer side around a finger once and bring the shorter side right below the “1” sign on the other end of the longer side. Slightly open the “1” part.

Step 9: Forming the Head or the “1”
Fold the shorter end around the ring band.
Place the “1” part on the ring band and fold in the open end (white border) under the previously folded shorter part.

Step 10: Locking the Head
Fold the remaining part of the shorter part on the backside of the ring head (inside of the ring band).
Notice a triangle pocket on the backside of the ring head, insert the open end of the shorter part inside the triangle pocket to lock the ring head.

Step 11: Shaping the Ring Band
The ring is now complete. You can use a mandrel or any round object of the dollar bill ring’s size, to shape the ring band nicely.

Watch Video Tutorial: How to Make an Origami Dollar Bill Ring
Now, just in case you don’t want to practice making origami dollar bill rings using a dollar bill, we came up with this trick of using craft paper instead. Check out our video tutorial and learn the dollar bill ring-making technique without having to use a dollar bill. You can also watch the tutorial on our YouTube channel for better quality [Please don’t forget to subscribe while you’re there!]
Folding Origami Dollar Bill Ring: Tips for Beginners
Here are some tips if you’re having difficulty crafting the origami dollar bill ring.
- Use a relatively new dollar bill for a neat craft.
- You can practice using craft paper as well, check out our YouTube channel tutorial to know the trick.
- Make the initial/base folds as neatly as possible, the initial folding and crease lines are the key to crafting any origami craft neatly.
- You can use a mandrel to shape the ring band to give the ring band a nice and finished structure.
Here are some of our origami craft tutorials that you may also like
- How to Fold Origami Maple Leaf
- How to Make Origami Bat
- How to Make Origami Leaves
- How to Make Origami Lotus
- How to Make Origami Butterfly
There’s no doubt that origami projects are one of the best ways to build and develop kids’ motor skills. Not only for kids, but it is also great for adults, especially if you’re looking for a therapeutic craft session. We really hope you like our origami project tutorials and enjoy crafting them yourself. If you do re-create our projects, please do tag us on Facebook or Instagram (use #thecraftaholicwitch).
Happy Crafting!
Thank You


